Search
Close this search box.

Seeded Sourdough

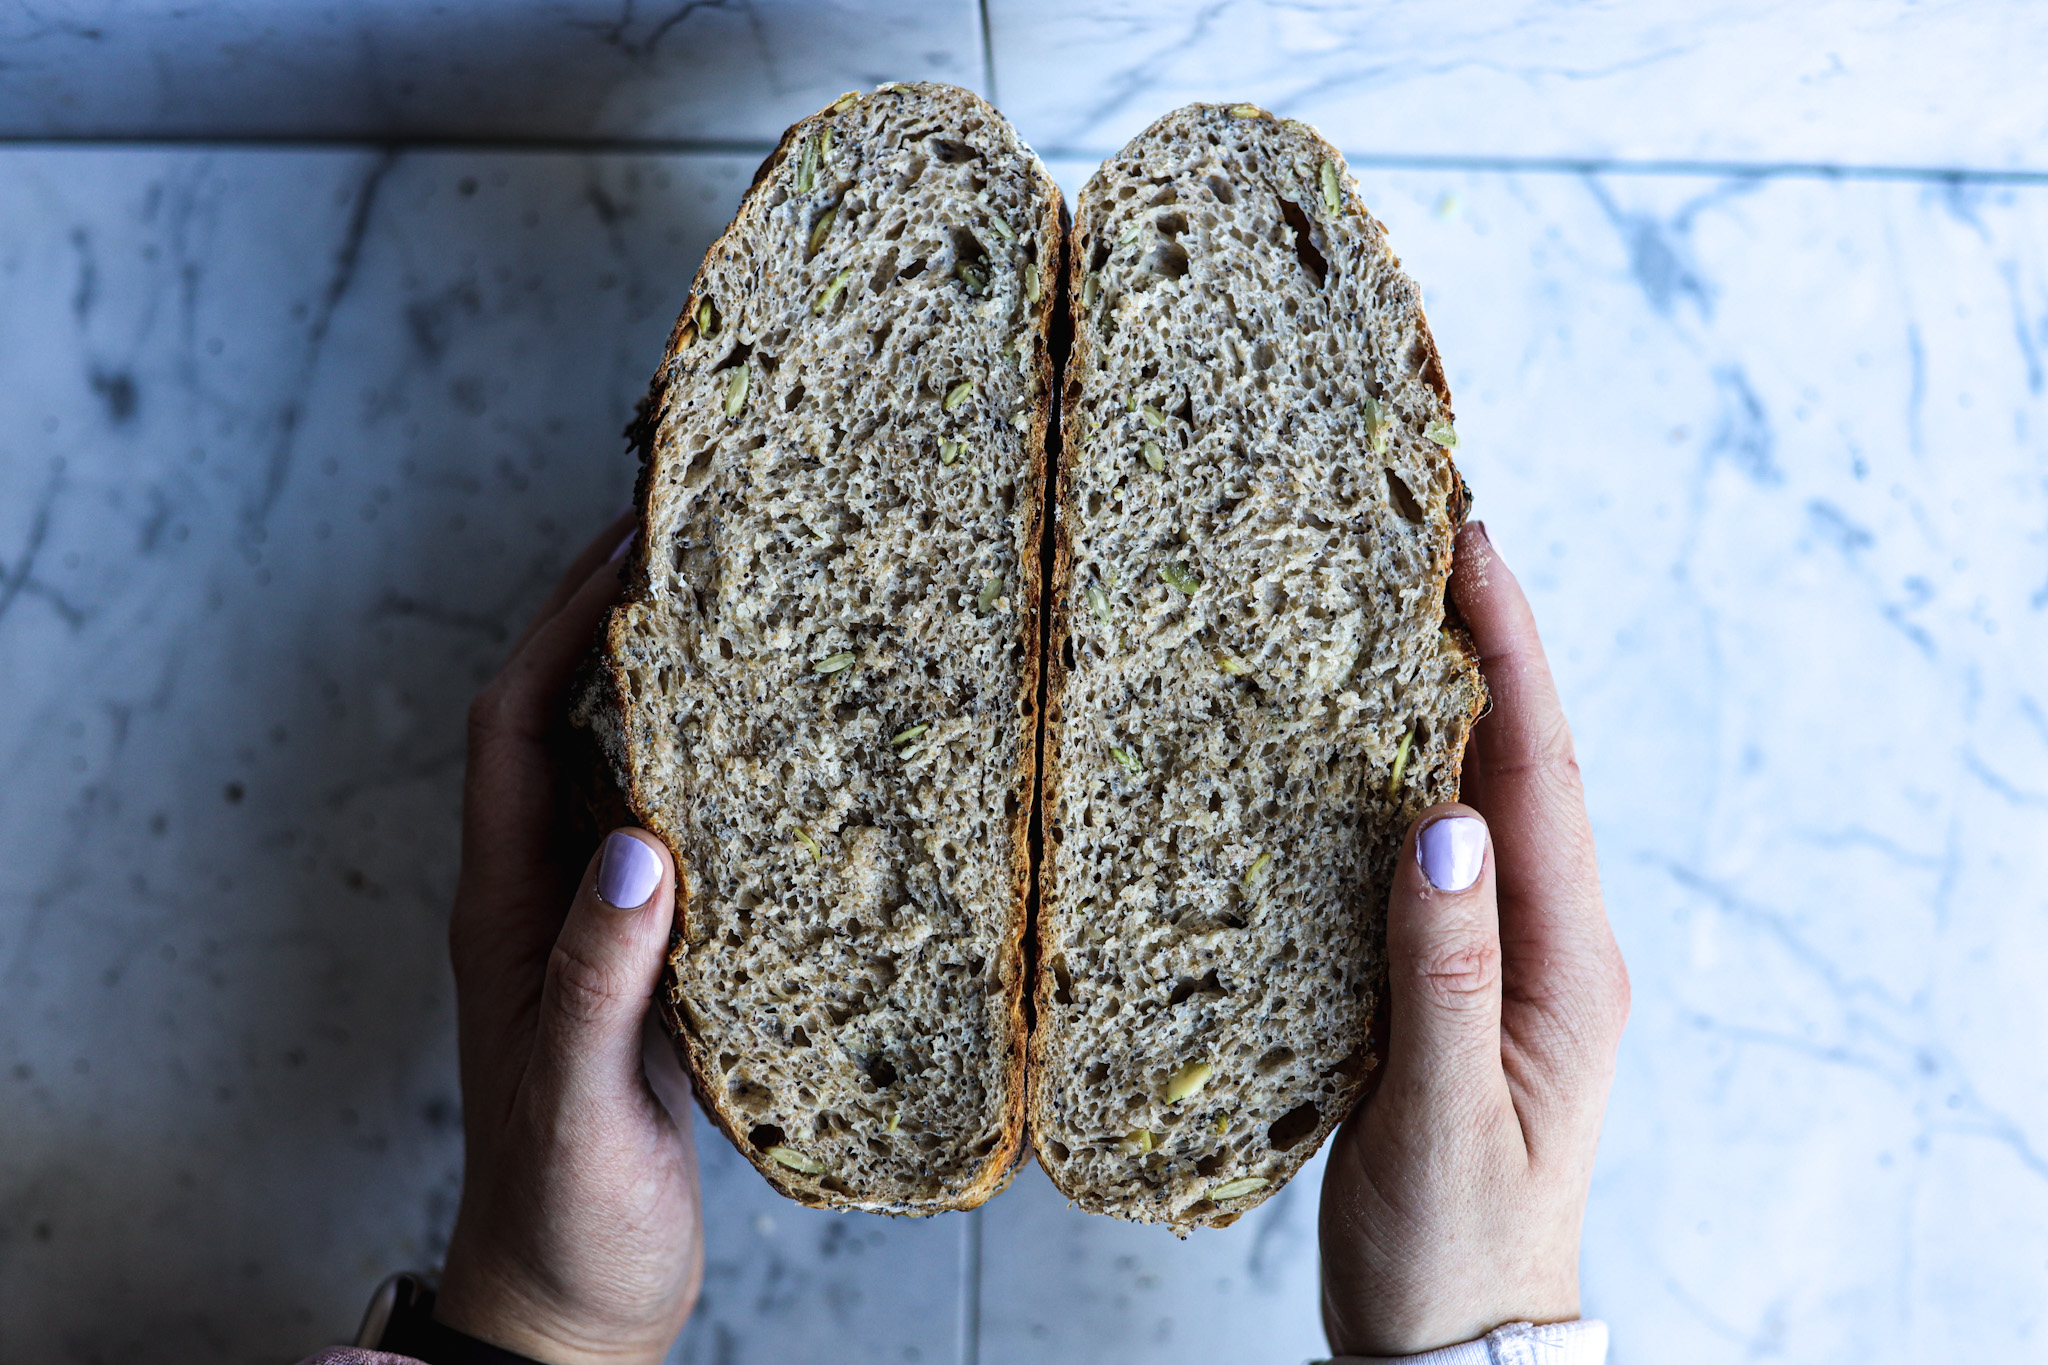
Talk about a good looking loaf of bread… This bread is packed with amazing flavor and perfect texture from all those amazing seeds intermixed with that sourdough goodness. The perfect breakfast, this bread transforms in the toaster and loves a healthy layer of butter and jam that will make the whole house smell heavenly. This hearty bread will fill you up and give you the energy you need to start your day.

  • Prep Time 30 Minutes
  • Cook Time 40 Minutes
  • Total Time 3 Days
  • Makes 2 Loaves

Ingredients

  • Water
  • Flour
  • Salt
  • Sourdough Discard
  • Pre-ferment: 75grams sourdough starter, 250 grams warm water, 200 grams all purpose flour
  • Bread: 500 grams warm water, 760 grams all purpose flour, 25 grams salt
  • 3 tbsp pumpkin seeds
  • 3 tbsp poppy seeds
  • 3 tbsp chia seeds
  • 3 tbsp sesame seeds

Instructions

  1. Day 1: 7:00pm : Mix together the bubbly starter and warm water. Mix and then add in your flour. Cover with plastic wrap and let sit on the counter over night or around 12 hours.
  2. Day 2: 8am: Add the warm water to your now very bubbly pre-ferment. Mix well. Then, add the flours and mix it. Cover and let it sit on the counter for 1 hour to hydrate the flour. This is called the autolyse
  3. After 1 hour sprinkle the salt over the dough and all the different seeds mix in. Wet your hands with cold water and mix well.
  4. After you have mixed the dough you will start to fold and stretch the dough. Wet your hands with cold water and reach down and pull up one corner of the dough and pull it over the center of the dough. Rotate the bowl and continue stretching the dough until all sides have been pulled over. You don't want to tear the dough so go slow and stop if the dough is resisting.
  5. Every 30 minutes for 3 hours you will repeat this stretching process. As you continue stretching your dough it will become harder to stretch, don't force the dough , this is good.
  6. After 3 hours of stretching the dough you will cover it and leave it to sit for 1 hour.
  7. After 1 hour you will start shaping the dough. Dump your dough out onto a floured surface. This is going to make 2 loaves. The correct way is to weigh your dough and evenly divide it in half - I often just eye it and take a good guess. BUT you need to divide your dough into the two loaves using a bench scraper.
  8. Cover your hands with flour, take one of the loaves, and pull the corners of the dough into the center of the dough. Flip the dough over and cup your hands around one side and slowly pull the dough towards you. Rotate the dough and do it again. This is tightening the dough and helping to shape it. Continue until all sides are tight.
  9. Repeat with both loaves of bread.
  10. Prepare a proofing basket by dusting it with a good amount of flour or get a large bowl out and lay a piece of parchment paper in the bowl, sprinkle flour over the parchment paper.
  11. Place the dough into the bowl, cover with plastic wrap and place in the fridge overnight.
  12. Day 3: 8am: Place a large dutch oven in the oven at 480 degrees. Let it sit in the oven for 30 minutes.
  13. Get your dough of bread out of the fridge, if you used a proofing basket prepare a flour covered piece of parchment paper for your dough to sit on.
  14. Once the dough is on the parchment paper quickly, using a lame or sharp knife, slash a line right across the top of your dough. Cover and place in the oven right away.
  15. Bake the bread for 30min at 450 degrees and then remove the lid and make for another 20minutes uncovered.
  16. Eat as soon as the bread cools with lots of butter. Enjoy!

NEVER MISS A RECIPE